01
Heavy cut
Strip the coating
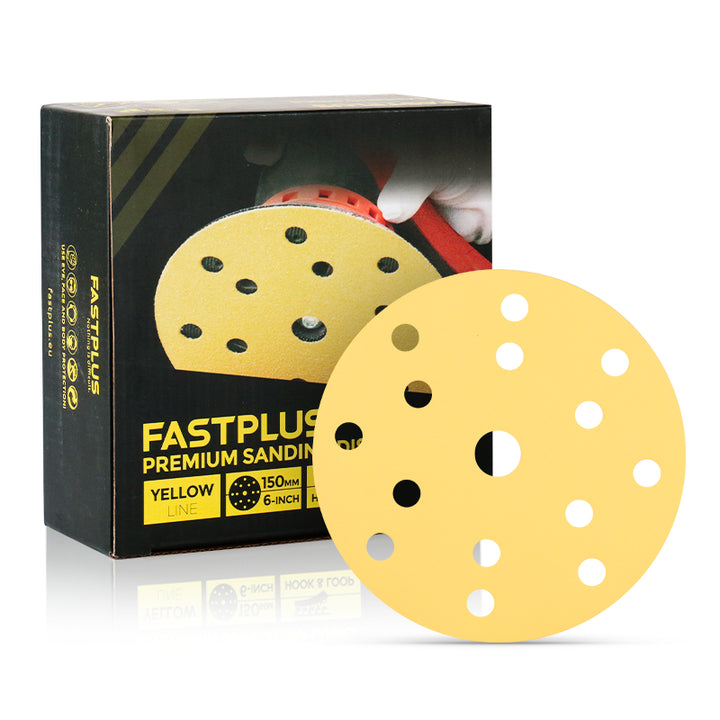
Start with a stronger disc when the old paint or clear needs to come off fast.
Shop NowStart with the heavy cut, then step down into a cleaner edge before body work or primer.
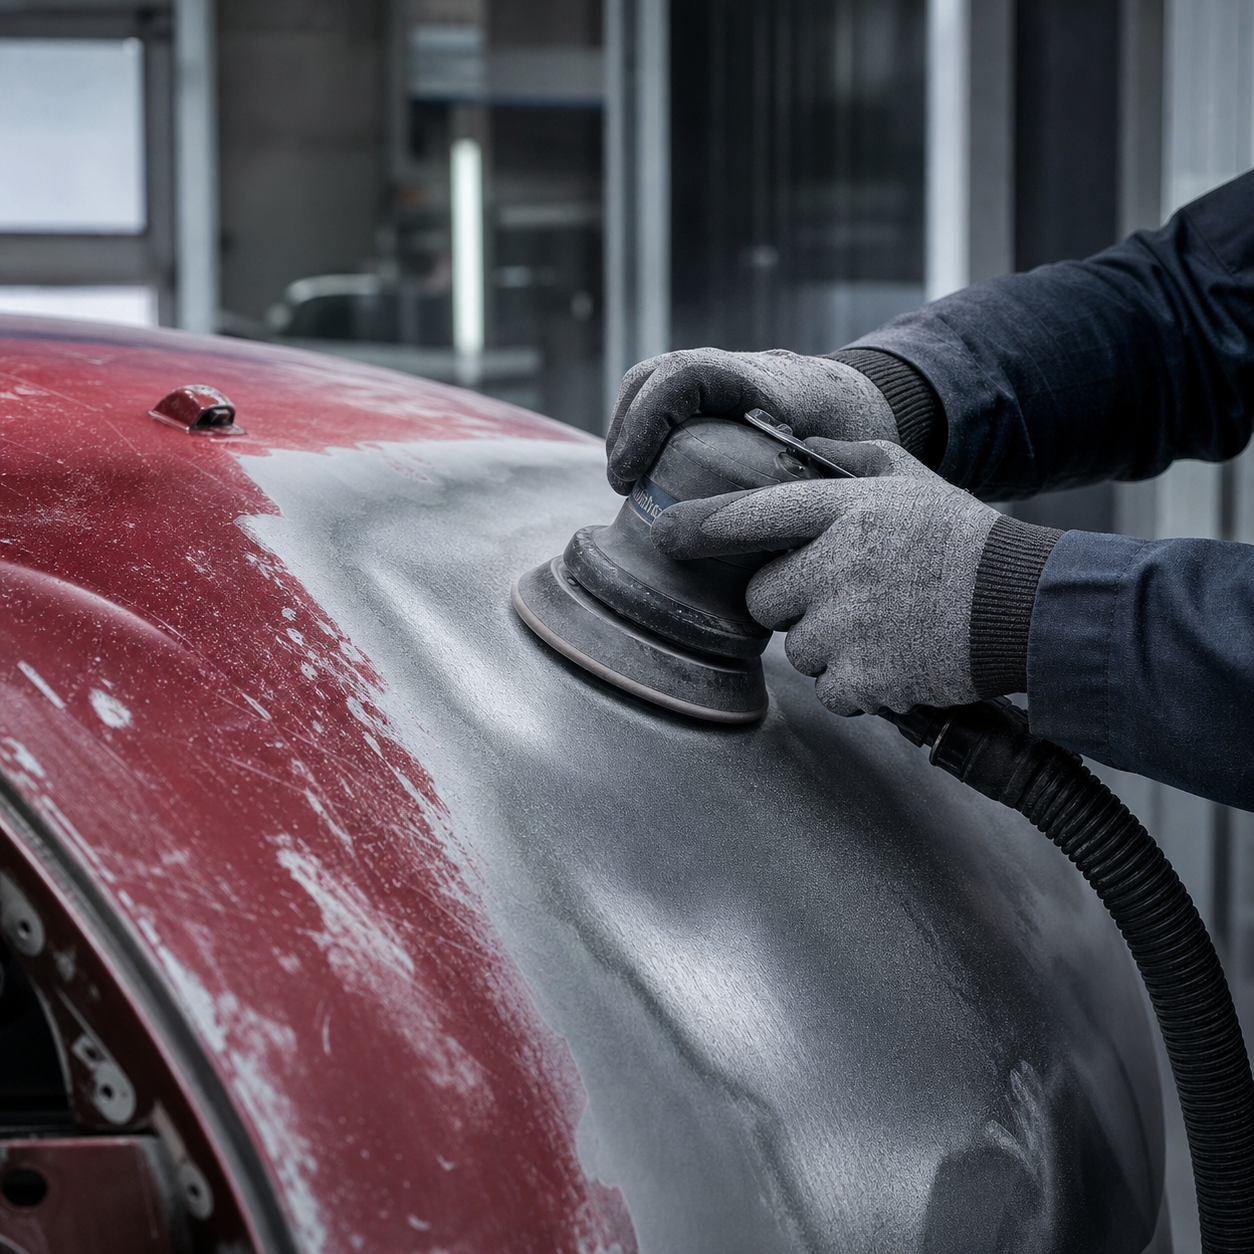
A tighter sequence for stripping damaged coating and moving into a repair-ready edge.
Start with a stronger disc when the old paint or clear needs to come off fast.
Shop Now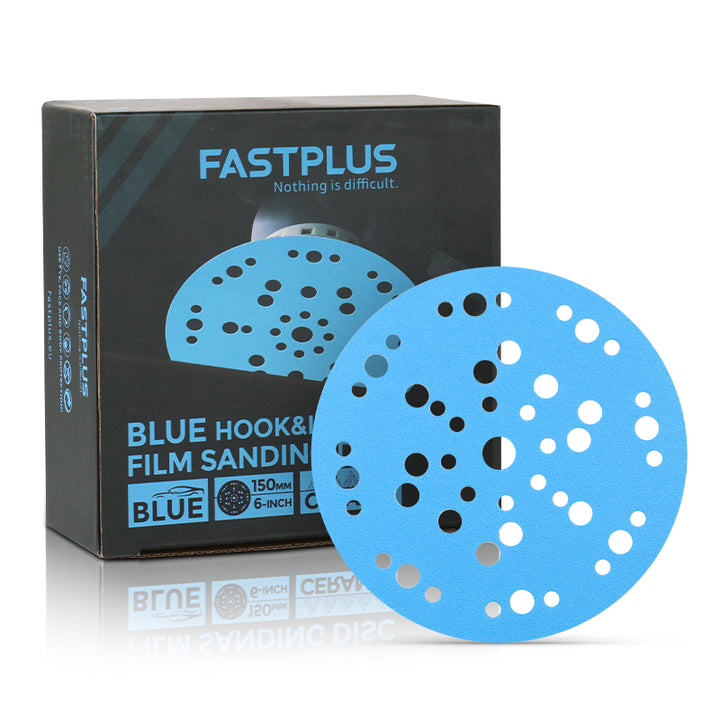
Move into a smoother disc when the panel starts to level and the featheredge matters.
Shop Now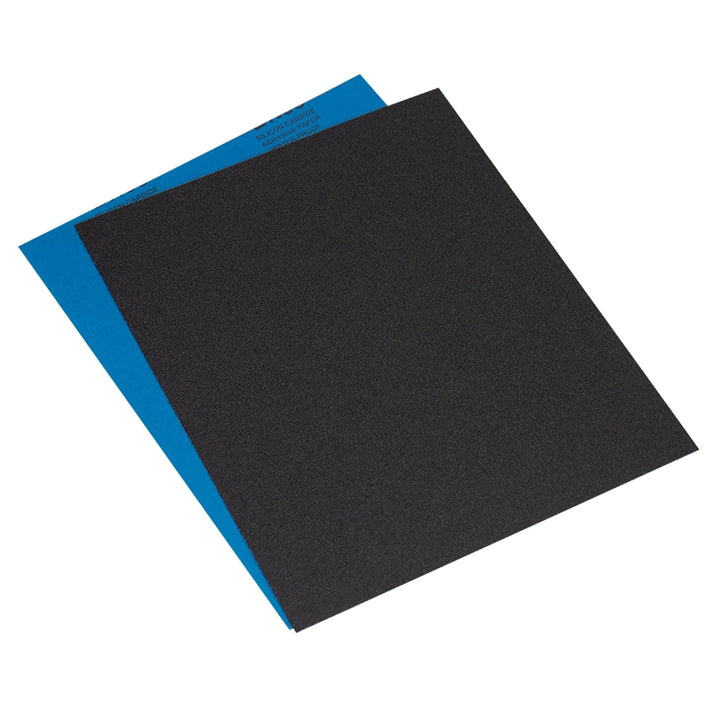
Use a flexible sheet for edges, corners, and the last cleanup before repair.
Shop Now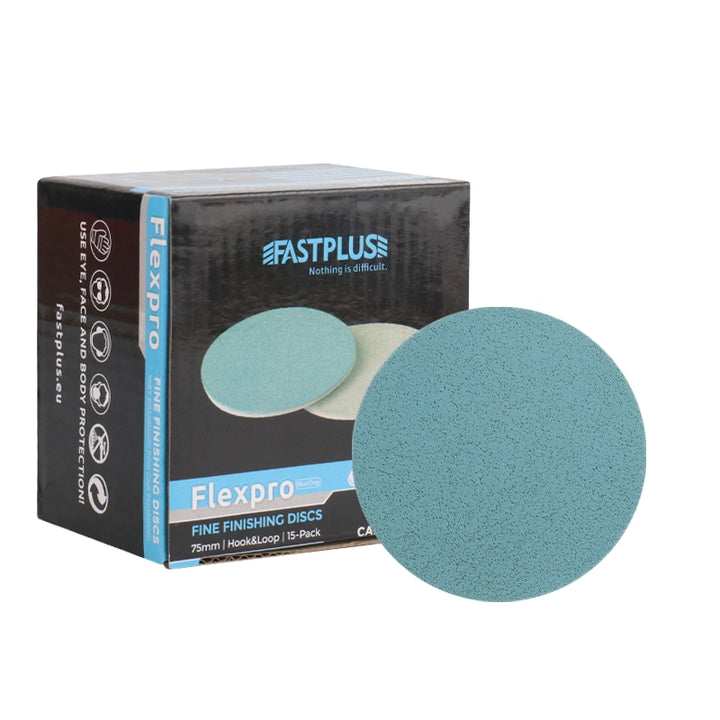
Keep a softer disc nearby when the job needs a gentler final pass.
Shop NowHeavy removal gets better when the sequence stays simple.
Do not try to finish the panel in the first pass.
The cleaner the transition, the easier the repair stage becomes.
Go straight to the catalog, or jump back to the auto guide for the other repair stages.