01
Heavy cut
Open the surface
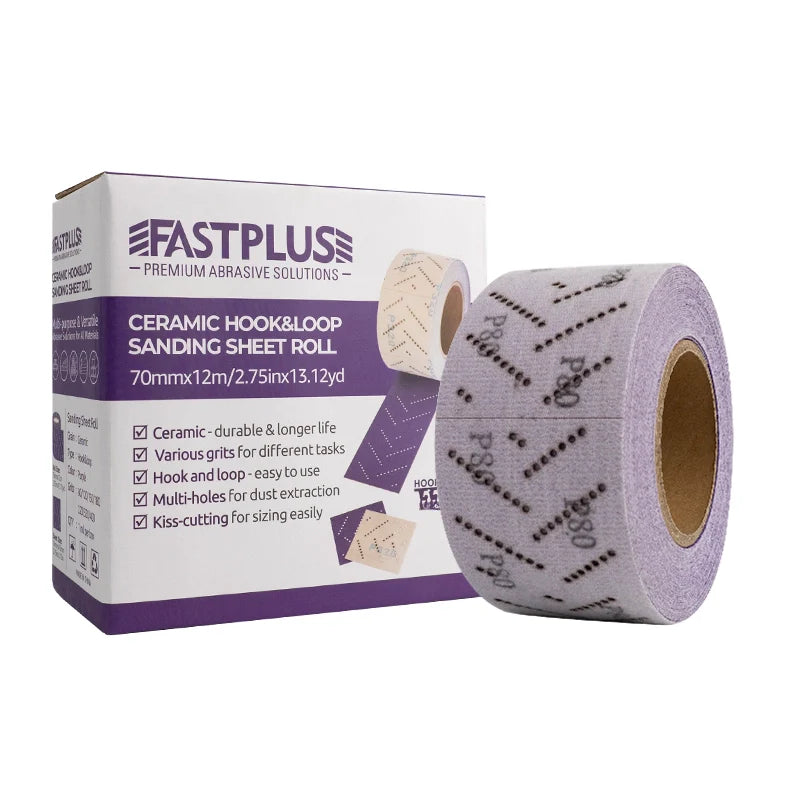
Use a stronger roll or strip when you need the first pass to move quickly.
Shop NowStart heavy, then step down into leveling and finish-safe prep for long runs, edges, and transitions.
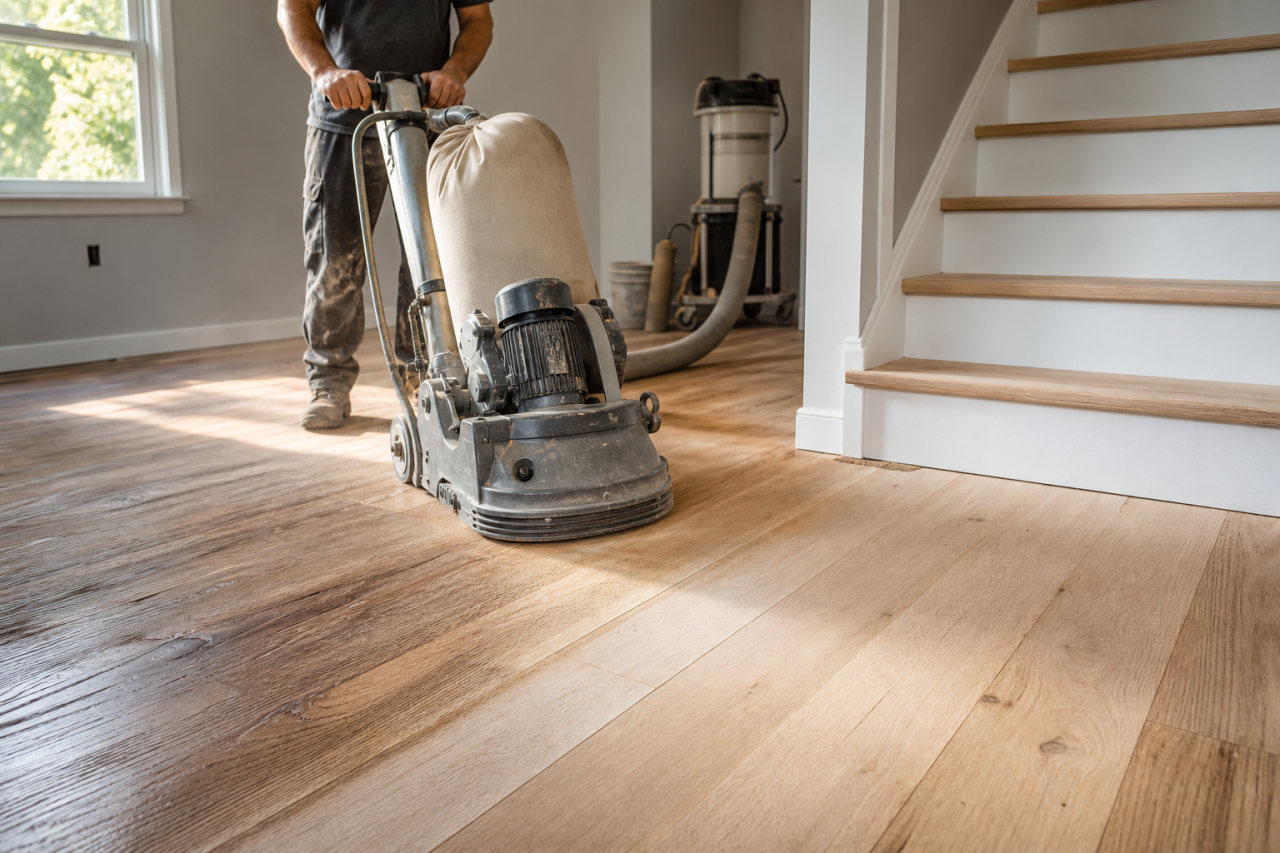
A practical sequence for larger wood surfaces that need a stronger start.
Use a stronger roll or strip when you need the first pass to move quickly.
Shop Now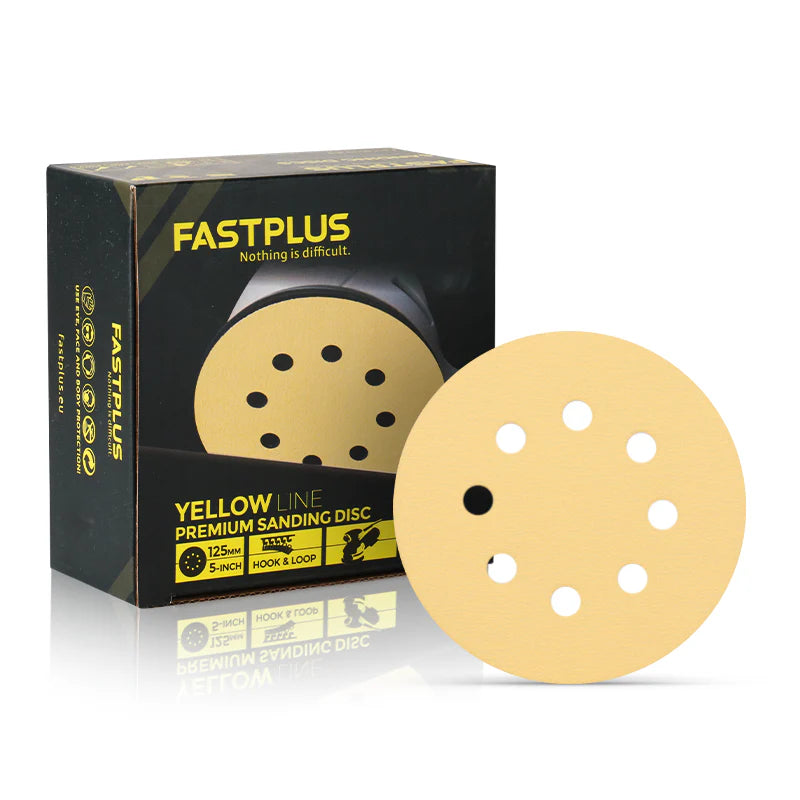
Move to a disc when you need to smooth transitions and reduce the scratch depth.
Shop Now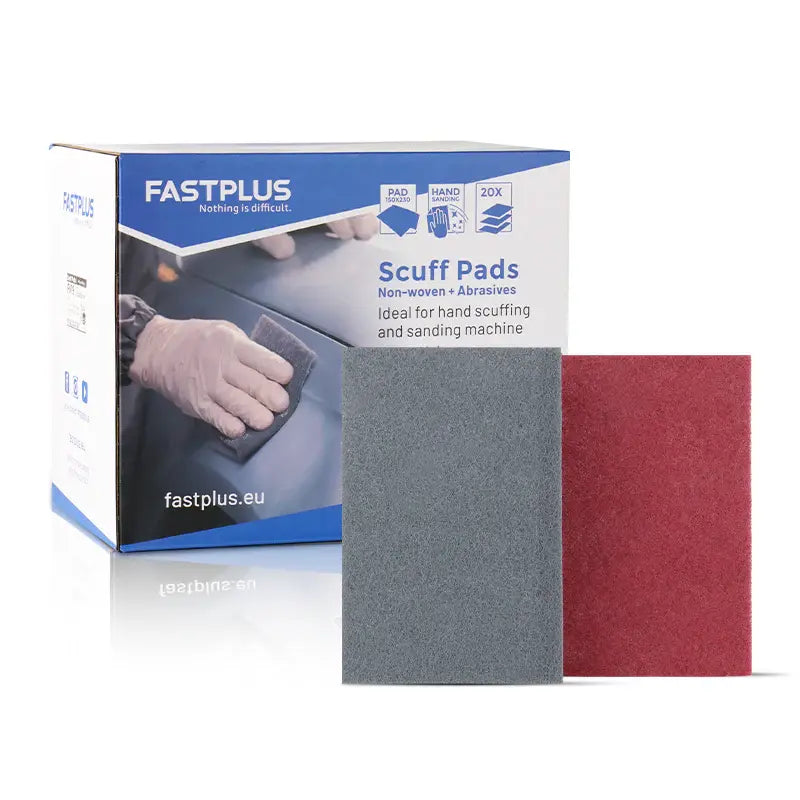
Switch to a reusable pad when the surface is ready for final prep.
Shop Now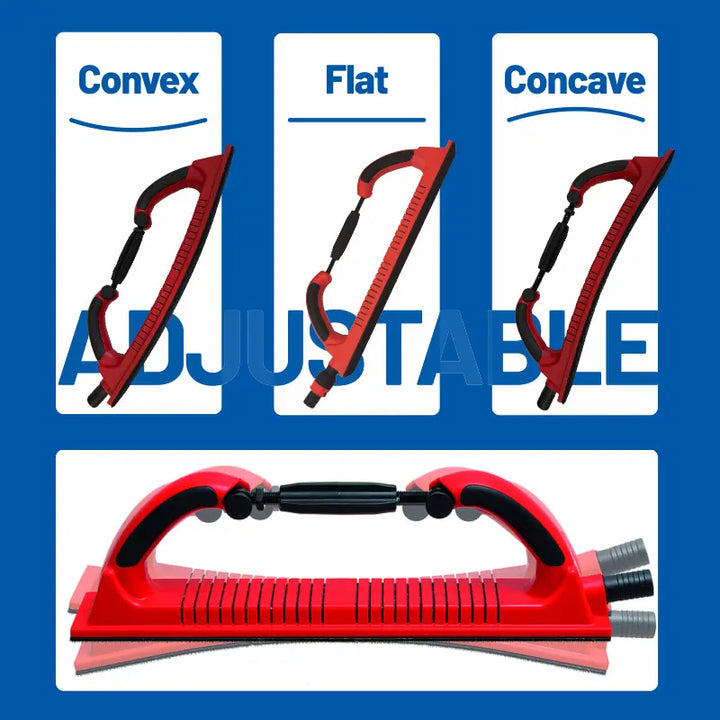
Keep a longboard or hand block nearby for edges, risers, and stair cleanup.
Shop NowLonger surfaces usually reward a simpler sequence.
Floors need stronger removal and longer sanding passes than furniture faces.
Use the last abrasive only when the surface is already level and ready for finish.
Go to the catalog or compare the other wood project pages.