01
Block
Shape the filler
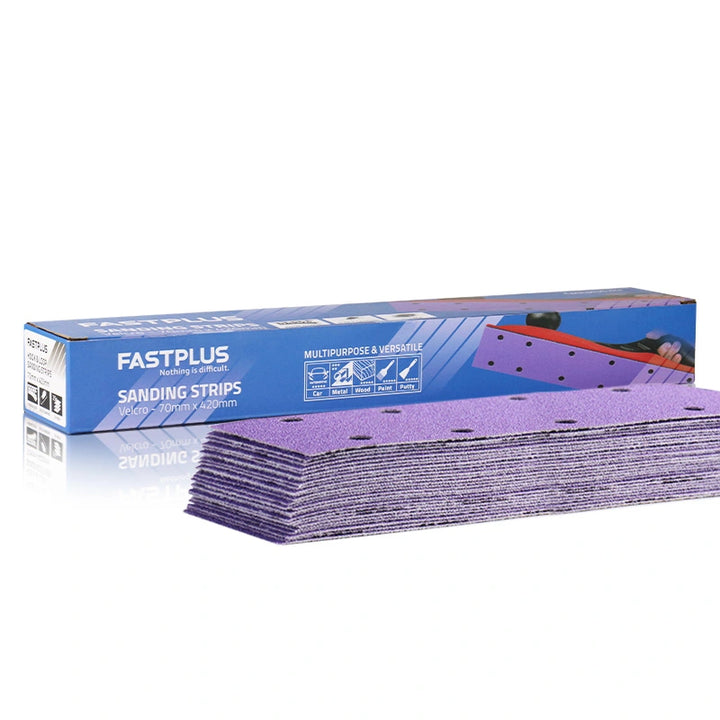
Long strips keep the first blocking pass even across repaired panels.
Shop NowShape body filler with a controlled cut, longer blocking passes, and a clean handoff into primer surfacer.
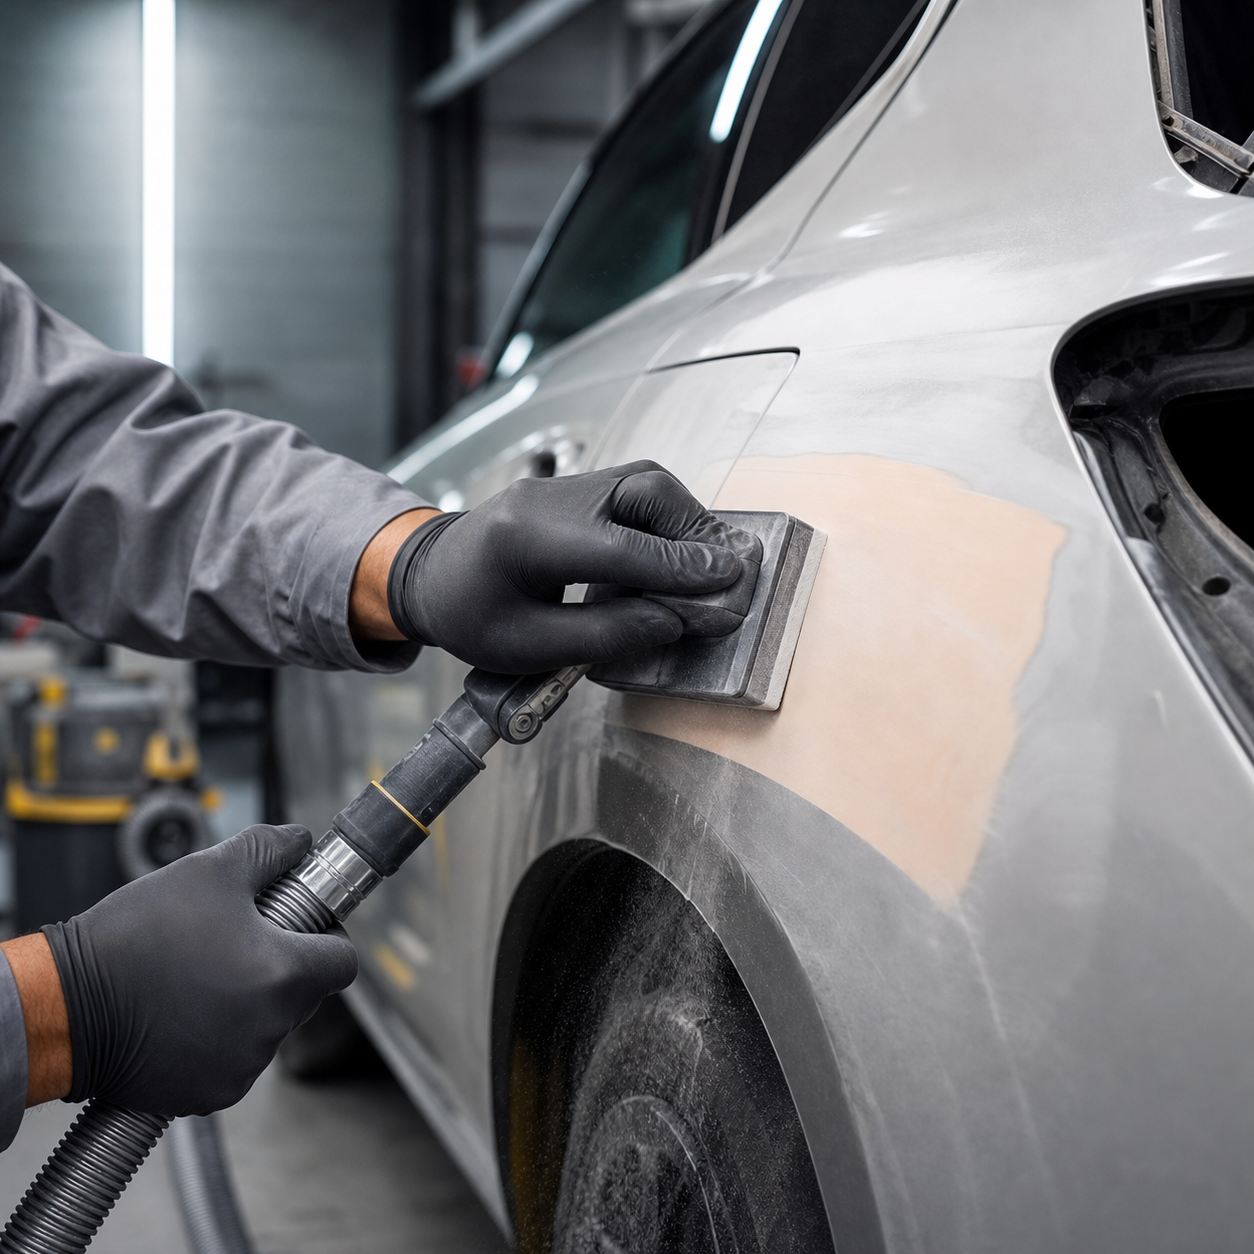
Use the abrasive format that matches the length of the repair and the control you need.
Long strips keep the first blocking pass even across repaired panels.
Shop Now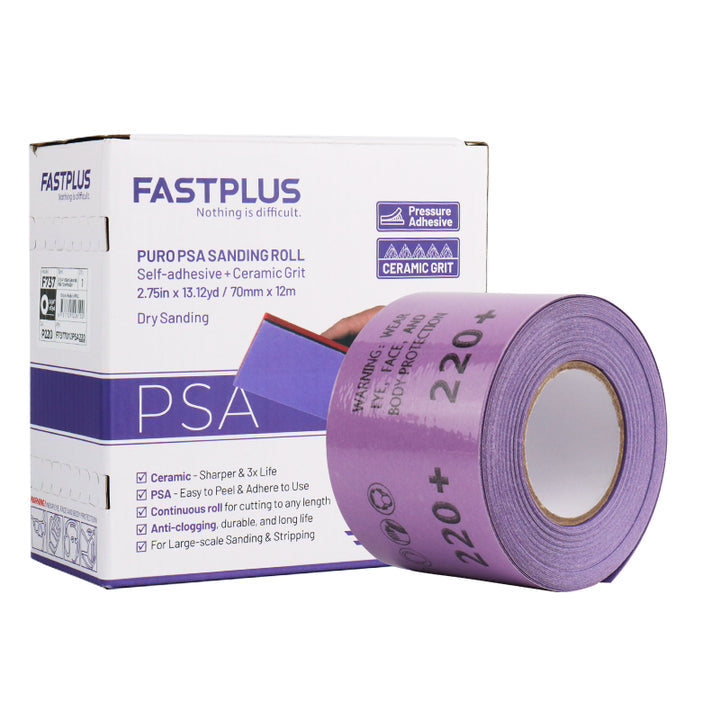
Peel-and-stick roll sections support longer hand-blocking passes and custom lengths.
Shop Now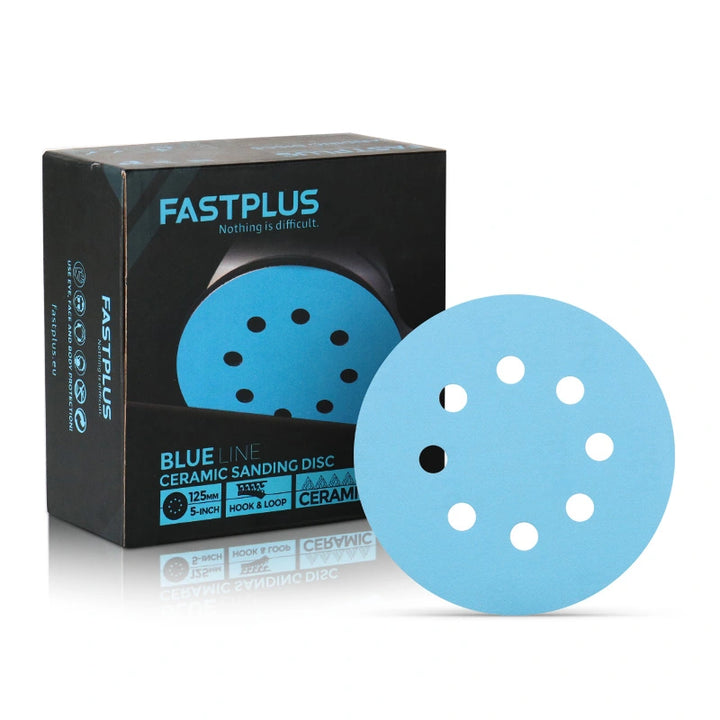
Move to a machine disc for a consistent final scratch pattern before surfacer.
Shop NowUse overlapping passes and moderate pressure so the panel stays readable.
Step down through the scratch pattern before moving into primer prep.
Return to the auto guide for coat removal, primer surfacer, and spot repair paths.